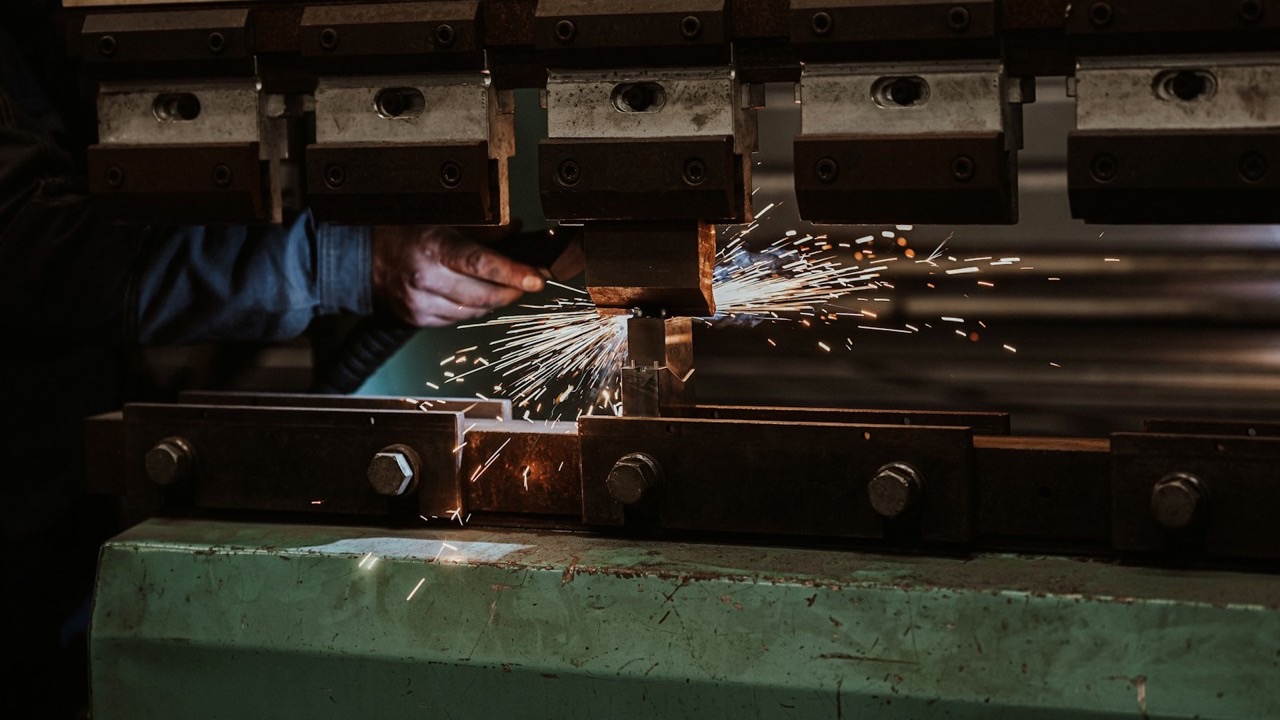
The fastest way to waste a morning on a press brake is to grab the wrong tooling. Sometimes it’s obvious — the tang won’t even seat in the ram because it’s the wrong style. More often it’s subtle: the part comes out with a radius you didn’t want, or an angle that won’t hold, and you don’t catch it until the first piece is in your hand. After enough of those mornings you stop treating press brake tooling as “the punch and the die” and start reading it as a system: style, method, die opening, tonnage — in that order. Here’s how I walk a job through it.
Punches and dies: the tool types you’ll actually use
The punch is the upper tool that presses down; the die is the lower tool with the opening the metal forms into. Between them they set your angle, your inside radius, and how much clearance you have around the part. A few types cover most work:
Punches
- Standard/straight — everyday 90° and 88° bending.
- Gooseneck — a curved throat that clears return flanges and lets you get into deep boxes without the flange hitting the punch.
- Acute angle (30° or 28°) — for acute bends and for over-bending to beat springback.
- Radius — forms a defined larger radius.
- Hemming — closes a hem, usually after an acute pre-bend.
Dies
- Single V — the workhorse; the opening width does most of the work.
- Multi-V (4-way) — several openings in one block, handy when you jump between thicknesses.
- U/channel, hemming, radius, and rotary/urethane dies for their named jobs.
If you only remember one thing here: the die opening, not the punch, is what usually sets your radius in everyday bending. More on that below.
American vs European vs Amada: match your machine first
This is the step people skip, and it’s the most expensive one to get wrong. Press brake tooling comes in different mounting systems that are not interchangeable. American (planer/tang) style uses a tang — commonly around a half inch — clamped with set screws; it’s robust, economical, and tall. European precision style front-loads with a safety key, seats itself, and holds tighter accuracy. Then there are machine-specific systems like Amada with their own holder geometry. A tool ground for one system will not sit correctly in another, full stop.
The trap is the label. Suppliers throw “Amada style” and “American style” around loosely, so I’ve learned to verify the actual tang or holder dimension against my machine before ordering, not trust the name on the listing. If you’re new to this, working through an illustrated press brake tooling guide that shows the mounting styles side by side saves you from buying a beautiful set of tools you physically can’t clamp.
Air bending, bottoming, coining: the method sets everything
How you bend decides your tooling and your tonnage more than any other single choice.
- Air bending — the punch presses the sheet only partway into the V; the ram depth sets the angle, and the die opening sets the radius. It needs the least tonnage and one die covers many angles. It’s what I run by default.
- Bottoming — the sheet is pressed to the bottom of the V. Tighter angle control, more force, radius close to the punch.
- Coining — a heavy stamp that presses the radius into the metal. The inside radius equals the punch radius and tolerances are the tightest you’ll get — but it takes roughly five to ten times the tonnage of air bending, so it’s reserved for jobs that truly need it.
Pick the method for the tolerance the part actually requires, not out of habit. Coining a bracket that a 90° air bend would have handled just burns tonnage and tool life.
Picking the V-die: the Rule of 8 (and when to break it)
For a 90° air bend in mild steel, start with the Rule of 8: the V-die opening is about eight times the material thickness. Bend 2 mm mild steel and you’re reaching for roughly a 16 mm V. From there, the inside radius lands around 15–17% of that opening — the old Ri ≈ V/6 to V/8 shorthand.
Break the rule deliberately, not by accident. Thick plate wants a larger multiplier. Stainless and high-strength steel bend to a larger minimum radius and spring back more — a useful check is the minimum inside radius Rmin = k·t, where k is about 1.0 for mild steel, 1.5–2.0 for 304 stainless, and 0.5–1.0 for soft aluminum. If the print calls for a radius your die can’t produce, that’s a die-selection problem, not something to force with a smaller punch.
Tonnage: don’t overload the tool or the machine
Every V opening and material has a tonnage cost, and it climbs fast as the V gets narrower or the material gets thicker and stronger. Read it off a tonnage chart before you commit — a chart from a source like American Machine Tools or your tooling maker will get you close. Two limits matter: your machine’s rated tonnage and the tool’s own rating. Blow past either and you can crack a die or damage the ram. Narrow V-dies on thick plate are the classic way people quietly overload a brake.
Buying tooling that lasts
Cheap tooling is expensive. Soft, roughly ground tools wear at the tip, lose their angle, and start throwing inconsistent bends within months. Precision-ground tooling hardened to around 55–60 HRC on the working edge holds its angle and pays for itself in scrap you don’t make. When I spec tooling I look for that hardness, correct seating features (a safety key or self-seating design is worth it), and sectionalized sets when I’m forming boxes or switching lengths often. And I keep acute punches on hand specifically for the stainless jobs where springback would otherwise chew up my first three parts.
Real shop scenarios
The wrong-style order still happens to good buyers: a shop I helped received a full die set that looked perfect and wouldn’t seat — right geometry, wrong tang system for their brake, and a restocking headache. On a run of 304 stainless brackets, our 90° punch kept leaving 91–92° parts until we switched to an acute punch and over-bent slightly to cancel the springback — problem gone. And the one that teaches tonnage respect: an operator grabbed a too-narrow V to “get a tighter radius” on 6 mm plate, spiked the tonnage past the die’s rating, and cracked the die block on the second hit. None of those were exotic failures. They were the style-method-die-tonnage order getting skipped.
FAQ
What is the difference between a press brake punch and die? The punch is the upper tool that presses down and shapes the top of the bend; the die is the lower tool with the opening the metal forms into. Together they set the bend angle and inside radius. In air bending, the die opening largely determines the radius, not the punch.
Are American, European, and Amada press brake tooling interchangeable? No. They use different tang and clamping systems, so a tool made for one will not seat correctly in another. Always match tooling to your machine’s mounting system, and verify the actual tang or holder dimension rather than relying on a “style” label on the listing.
How do I choose the right V-die opening? Start with the Rule of 8: for a 90° air bend in mild steel, use a V-die opening about eight times the material thickness. Adjust upward for thick plate and for high-strength or stainless material, which need larger openings and radii. The opening also sets your inside radius.
What is the difference between air bending, bottoming, and coining? Air bending presses the sheet partway into the V — flexible, low tonnage, radius set by the die. Bottoming presses it to the die bottom for tighter control and more force. Coining stamps the radius in at roughly 5–10 times the tonnage, giving the tightest tolerance with the radius set by the punch.
How is the inside bend radius determined? In air bending the inside radius comes from the die opening — roughly 15–17% of the V width for mild steel — not from the punch. In bottoming and coining the radius matches the punch radius. To change an air-bent radius, change the die opening rather than the punch.
What hardness should press brake tooling be? Quality precision-ground tooling is typically hardened to around 55–60 HRC on the working edge. That hardness resists wear and keeps the angle accurate over long runs. Softer economy tooling wears quickly, drifts off angle, and usually costs more across its working life.
Bottom line
Read press brake tooling in order: confirm the style fits your machine, choose the bending method the tolerance actually needs, size the V-die with the Rule of 8 (then adjust for material), and check the tonnage against both the machine and the tool. Buy hardened, precision-ground tools and seat them properly. Do that and most bad-first-part mornings simply stop happening.